Learn how to securely set up your Ledger hardware wallet and start managing your crypto safely with Ledger Live.
Welcome to the official Ledger.com/start setup page. Here, you’ll find everything you need to get started with your Ledger hardware wallet—including installation of Ledger Live, device initialization, firmware updates, and best practices for securing your crypto assets.
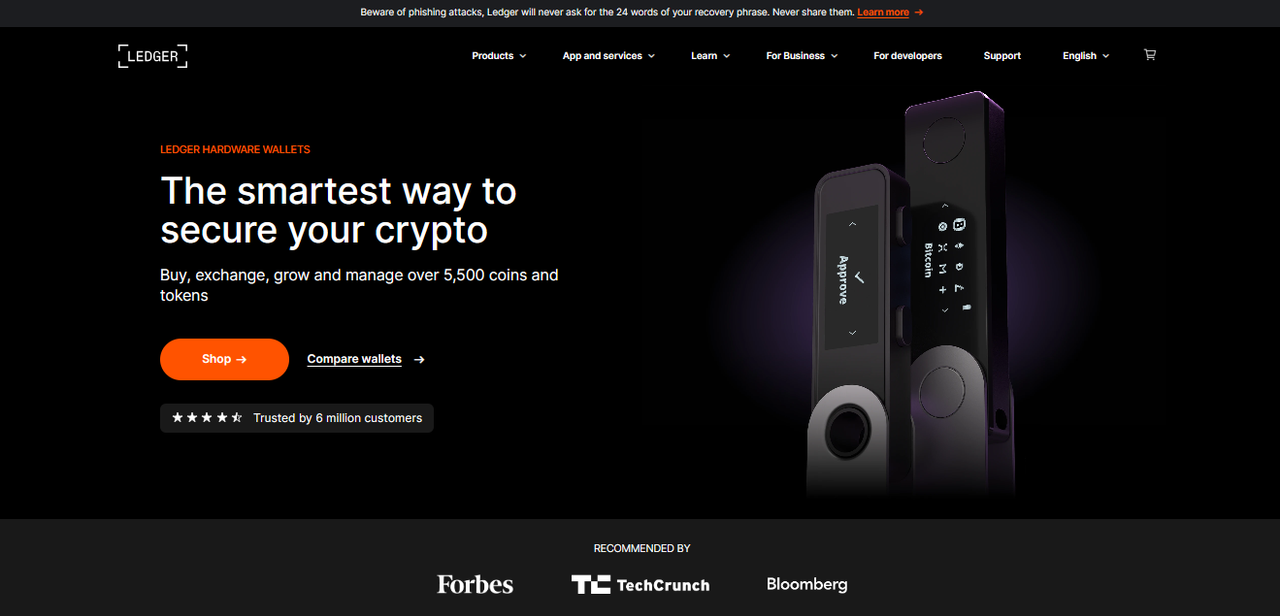
Ledger is a world leader in cryptocurrency security. With millions of users worldwide, Ledger’s hardware wallets—like the Ledger Nano S Plus, Ledger Nano X, and Ledger Stax—keep your private keys safe offline. Combined with the Ledger Live app, you can easily buy, sell, swap, stake, and manage over 5,500 coins and tokens while maintaining full control of your assets.
Visiting Ledger.com/start ensures you’re following the official and most secure setup process. Unfortunately, there are fake websites and phishing pages designed to steal recovery phrases. Always confirm that you are on the official Ledger website before entering any information.
The first step in setting up your Ledger device is to download the Ledger Live application. This is the official companion app used to manage your hardware wallet. Ledger Live is available for Windows, macOS, Linux, as well as iOS and Android mobile devices.
Download only from the official Ledger Live page. Avoid third-party websites or links shared in social media posts or forums.
Once Ledger Live is installed, connect your Ledger device via USB (or Bluetooth for the Nano X). Follow the on-screen instructions carefully. You’ll be prompted to:
Your recovery phrase is the only way to restore your wallet if your Ledger is lost or damaged. Never share it with anyone. Ledger will never ask for your recovery phrase—no matter the reason.
After setup, Ledger Live will verify the authenticity of your hardware wallet. This step ensures that your device has not been tampered with or compromised before shipping.
Once verified, you can install the apps for your preferred cryptocurrencies (e.g., Bitcoin, Ethereum, Solana) directly from Ledger Live.
To start managing your crypto, add accounts for each asset you hold. In Ledger Live:
Your balances will then appear on your Ledger Live dashboard, along with real-time price updates.
With Ledger Live and your device properly set up, you can now:
If you encounter any issues during setup or use, visit the official Ledger Support Center for troubleshooting, tutorials, and FAQs. You can also access the Ledger Academy for educational resources about crypto security, staking, DeFi, and NFTs.
Ledger wallets use a certified secure element chip—the same kind used in passports and credit cards—to keep your private keys isolated from online threats. This hardware-level protection ensures that even if your computer or smartphone is compromised, your crypto remains safe.
Combined with the transparent, open-source nature of Ledger’s software and firmware verification tools, users can fully trust that their devices are genuine and uncompromise.
Getting started at Ledger.com/start is the safest and most reliable way to set up your Ledger wallet and begin managing your digital assets. Follow the instructions carefully, always secure your recovery phrase, and only download software from Ledger’s official website.
With Ledger Live and your hardware wallet, you’re not just managing crypto—you’re taking control of your financial future in the most secure way possible.